The original arrowheads were made from organic materials — often through the process of “knapping” rocks like obsidian, chert, and flint. The sharp flakes of stone which resulted were then affixed to arrow shafts, and shot from bows by primitive hunters to take down game and battle their human enemies.
Still today, stone arrowheads are made by bushcrafters, and they can be life-savers in wilderness survival situations.
But what if you need to make an arrowhead in an urban environment, where stones that are good for knapping may not be abundant? What improvised materials can be marshaled to create projectile points that can be used to make arrows for hunting and self-defense?
Here are 4 different materials/methods to try:
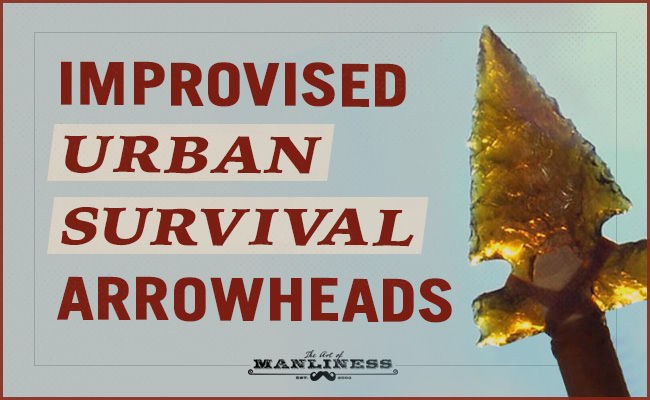
1. Arrowhead From a Glass Bottle
Supplies needed:
- Glass bottles (ideally with a flat bottom)
- Pressure flaker (antler bone or a nail hammered into a wooden dowel)
Obsidian, from which arrowheads have been made for thousands of years, is volcanic glass, so it shouldn’t come as any surprise that you can make your own arrowheads from man-made glass. In fact, such glass is easier to work with than obsidian (or other rocks), and of course is easier to come by, especially in an urban location.
You can use any kind of glass with a flat section, and that includes an ordinary soda/beer bottle. You make an arrowhead from a bottle pretty much the same way you’d make it from a rock: by breaking apart your source material, and then taking a large flake of it — in this case the bottom of the bottle, which is thicker and flatter — and carefully chipping off tiny flakes from its edges to shape and sharpen it up. The text instructions here, which includes diagrams, are helpful in understanding the semi-intricate process.
Since shaping glass into arrowheads is easier than shaping stone, this is a good way of learning the skill of knapping rock.
2. Arrowhead From a Nail
Supplies needed:
- Hammer
- Nail
- Pliers
- File
If the knapping process feels a bit too meticulous for you, try a more brute-force method: making an arrowhead from a common nail. Basically, you just pound it on alternate sides until it flattens out, and then use a file to create a sharp edge/point. They’re not the sturdiest arrowheads, but will get the job done. With a bigger hammer, you can pound a 1/4″ bar stock into a true broadhead that’s able to penetrate and take down a deer.
3. Arrowhead From a Spoon
Supplies:
- Spoon
- Hammer
- File
The basic process for making an arrowhead from a spoon is to hammer it til it’s flat, draw the arrowhead shape you want on the flattened spoon head, and then remove the material around that outline until you have your broadhead triangle. The process is made easier if you have some higher-tech tools like a blow torch (for heating up the spoon before you hammer it) and something like a Dremel tool for cutting away the extra material. But in a survival situation you may not have access to those things (or to electricity). Fortunately, though it takes more effort, you can create the same end product simply by hammering a cold spoon and then using a file to remove the extra metal from the spoon head; you can even rub it against a block of concrete should you not have a file.
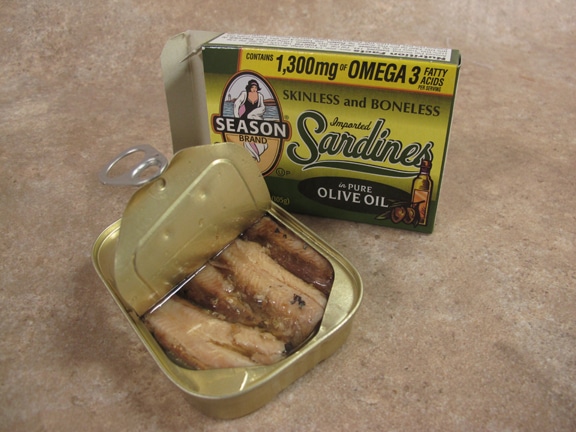
4. Arrowhead From the Lid of a Tin Can
Supplies needed:
- Tin can
- Multi-tool with can opener and pliers
Probably the easiest method, and one that involves the least supplies (if you have a handy multi-tool). You simply take the lid off a tin can, fold it in half, bending it back and forth til it breaks. Then you do the same thing with a half piece until you have a quarter section of the lid. Then fold that in half and make some manipulations with your pliers.
As you can see, in an urban survival situation, materials from which to make improvised arrowheads can be found everywhere, from a trash can to a kitchen pantry. Once you’ve sourced and made your arrowheads, you’ll of course need to attach (haft) them to the arrow’s shaft; the essential process goes like this: you’ll cut a notch in the end of the shaft, insert your arrowhead into the slot with some glue/resin, wrap the arrowhead in sinew/cord to further secure it, and then top the wrapping with some glue for good measure. Then string your improvised bow (a subject for another day) with your improvised arrow, and prepare to bag some game or defend your domain.